Shop a Similar Cheese Board
If you follow me then it is no secret that I love fashion as 90% of my content on this blog is fashion related. However, I do have another great love in my life and that is food. I have always been known as the foodie in my friend group. I love to discover new restaurants, my favorite activity when I travel is trying new foods, and I cook most nights.
I wanted to share a staple in my household and one of my favorite but super easy go-to’s that will wow your guests – a cheese board. It is truly one of the quickest things you can throw together when hosting friends but still make it look special.
Keep reading to learn how to create the perfect cheese board that will make your friends think you are a pro and the classiest host.
How To Create The Perfect Cheese Board
PLAN
Do you have a theme? Are you sticking to one country or going for a variety? I prefer variety because they say variety is the spice of life, right?
A great rule of thumb is to stick to 3-5 kinds of cheese depending upon the crowd. Unless your party is cheese-themed then I wouldn’t go overboard. It’s also best to choose cheeses that have different textures (soft, semi-soft, firm, blue) and come from different kinds of milk.
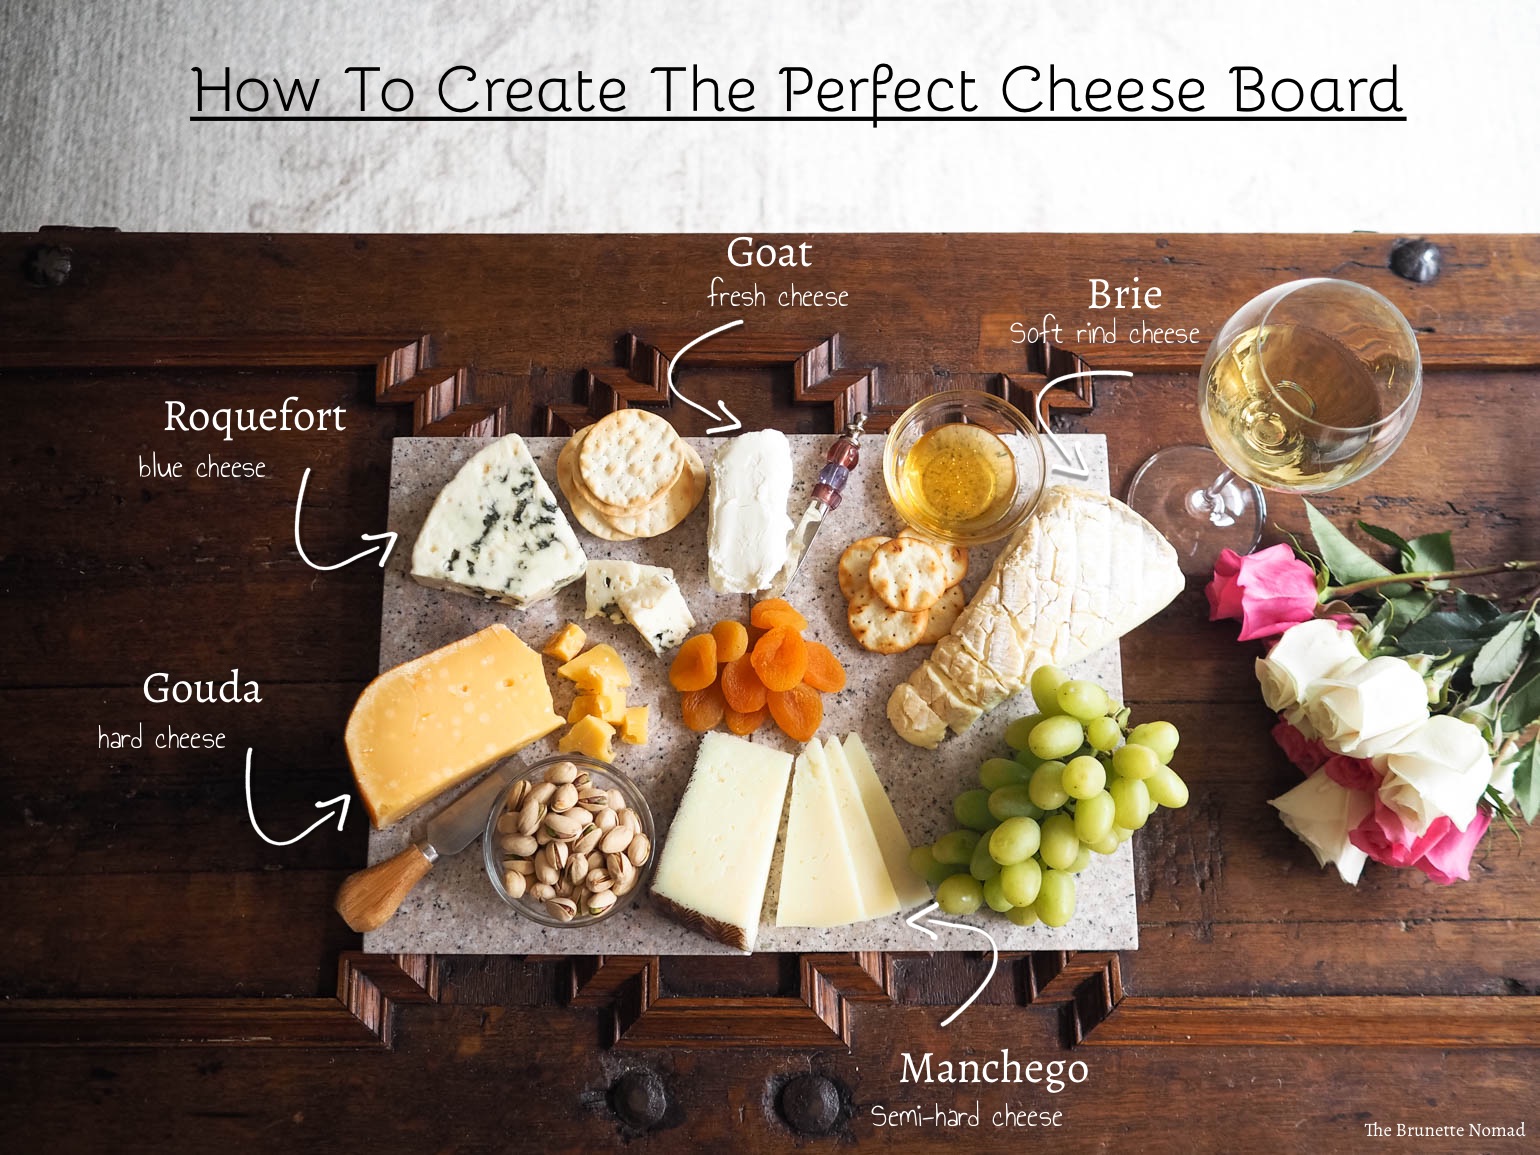
For my board I chose:
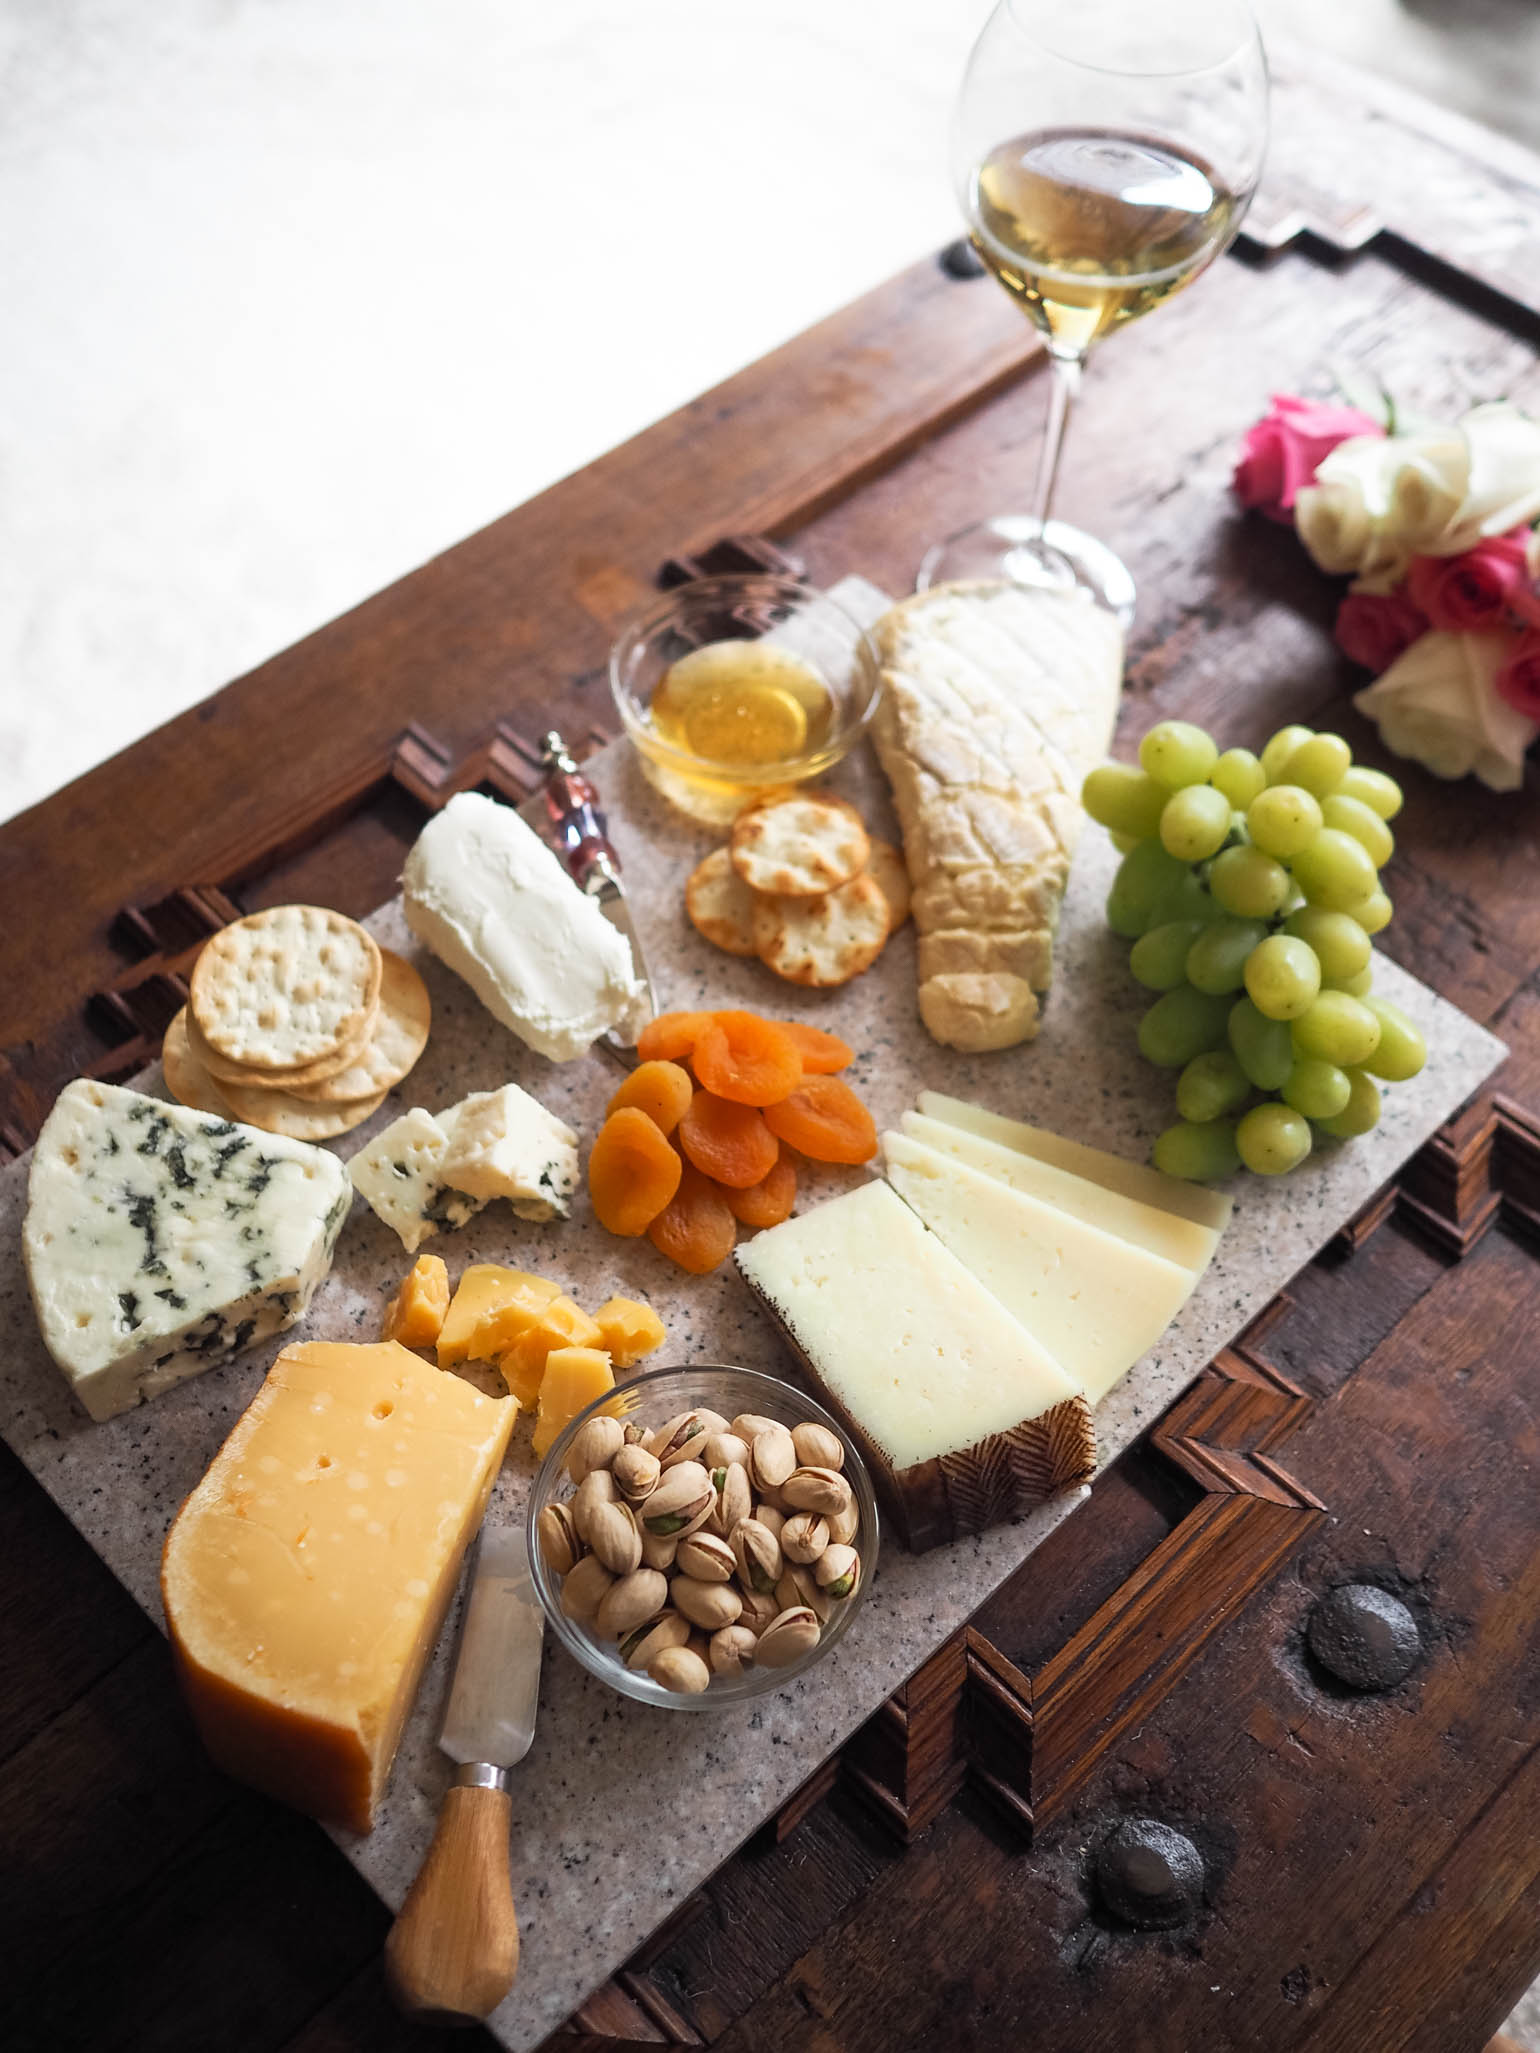
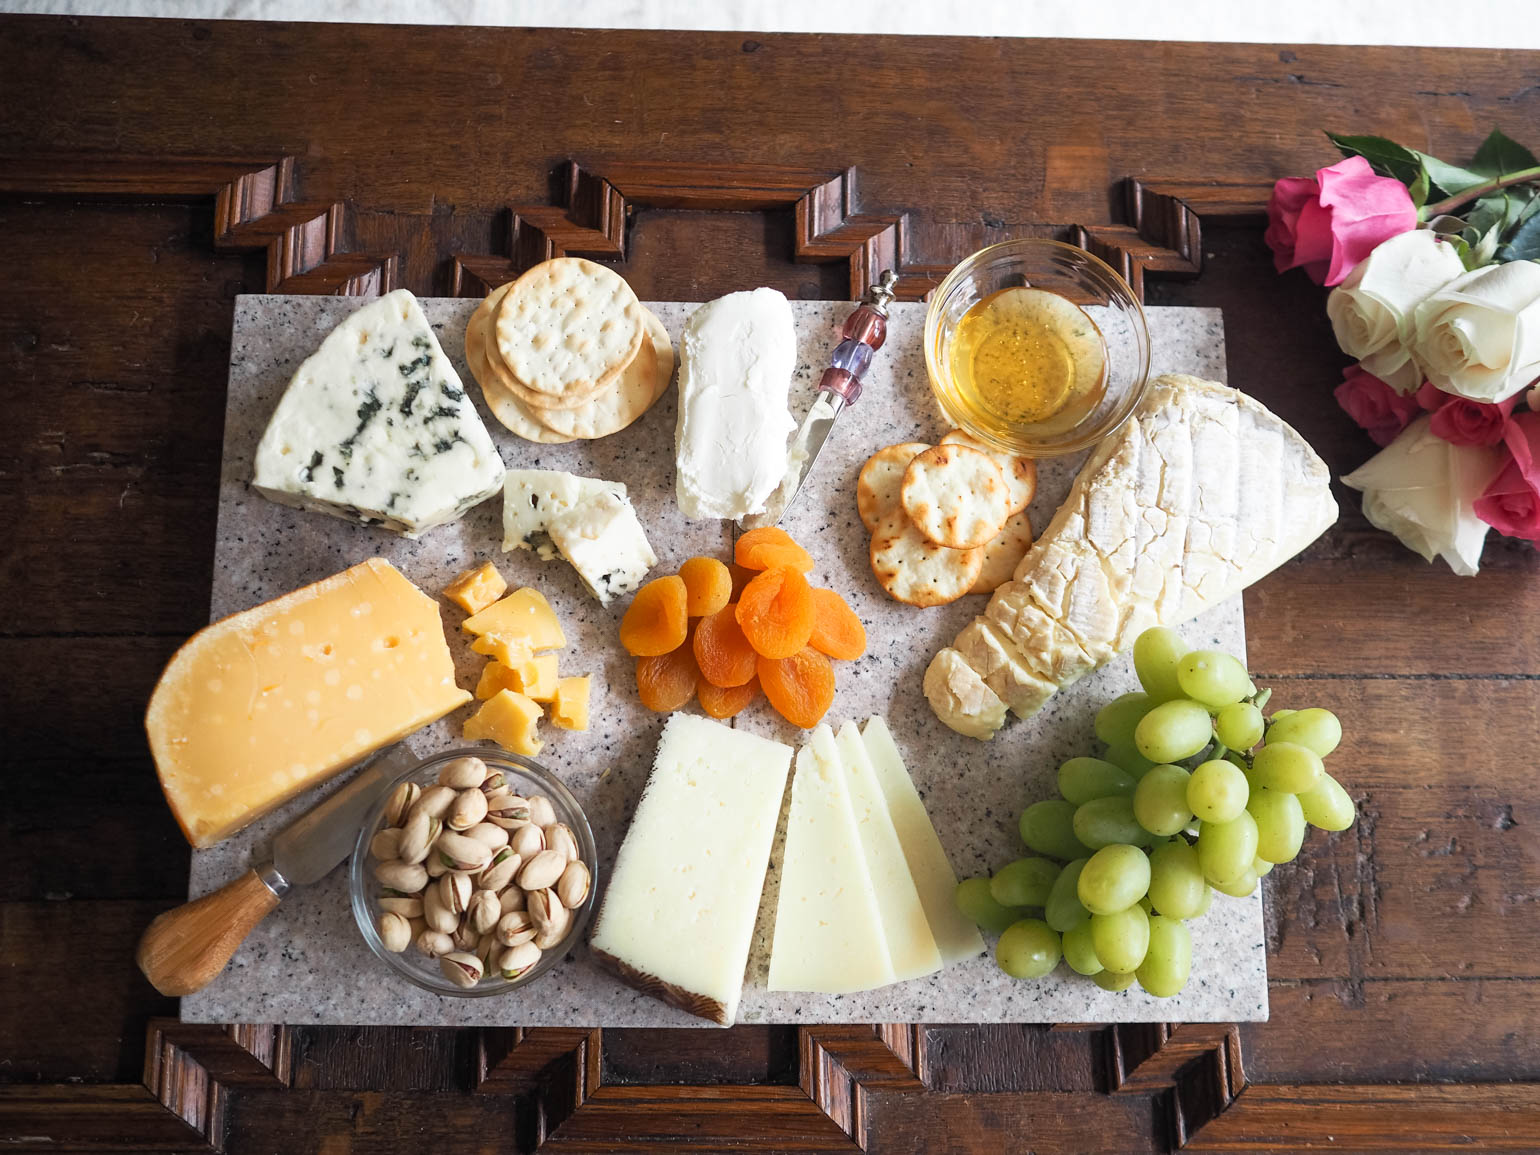
Fresh goat cheese, creamy brie, semi-hard manchego, nutty Gouda, and of course a Roquefort.
I purchased all of my cheese from Trader Joe’s who have one of the best cheese sections for a decent price in the US. I highly recommend checking them out when you are making your next cheese board.
ACCOMPANIMENTS
Again variety will be your best friend and don’t be afraid to play with color since cheese can all be relatively the same shade of white or beige. Think green grapes, dried cranberries, or fresh figs to name a few.
The extras or little nibbles (as I like to think of them) are what really transform a simple cheese board into something special. They also help to fill in space so if you’re on a budget you don’t have to spend $$$ on lots of cheese. My favorite additions to a cheese board are cold cuts, crackers, onion chutney, and honey. You really can’t go wrong with these cheese board classics.
PRESENTATION
If you only take away one thing from this post let it be this – pull out your cheese selections around 1 hour before serving so they can reach room temperature. I promise it makes all of the difference in the flavors and will make you look like a real cheese pro.
The classic way is to arrange your cheeses from soft to hard clockwise to give people an idea in which order it’s best to eat. If you want to be really fancy you can look up how to cut each type of cheese specifically, but most of us aren’t bothered by that fuss.
Instead, I just try to cut the cheese into wedges or stripes or something that can be easily eaten in 1-2 bites.
Do you like this type of content from me or prefer fashion posts? Let me know in the comments below! If you create your own cheese board feel free to tag me on Instagram @brunettenomad so I can see your creation.


