
In my Instagram stories, I asked what blog post you wanted to see next and how to take Instagram photos with a tripod won by a landslide.
Taking photos as an influencer is essential so if you’re camera shy in front of others or just want to take photos on your own schedule you’ll need the help of a handy friend – meet the tripod.
I finally decided to purchase a tripod last year to help with taking Instagram photos and it has been incredibly helpful. I still prefer having a person behind the camera as they can get angles that a tripod just can’t.
However, sometimes there is just no one around to take photos or I don’t want want to bother family or friends as I feel like I’ve asked a few too many times so a tripod is a perfect solution. If you’re camera shy I wrote a previous blog post sharing my tips to confidently take photos in public.
Using a tripod with my iPhone is also my favorite for taking “selfies”
It allows you to focus on your facial expressions rather than making sure the camera is in the right position or that everything is in focus. I purchased my tripod from Amazon for only $25.99 along with this smartphone adaptor for under $15 so you don’t need expensive equipment to start.
(SIDENOTE: I have an iPhone 11 Pro Max and it fits with its case in this tripod + adaptor)
I personally only use my tripod for my Instagram photos as I like to use my Olympus camera for blog posts.

Taken with my tripod
HOW TO USE A TRIPOD TO TAKE INSTAGRAM PHOTOS
ADJUST THE HEIGHT
Use the legs of the tripod to adjust to the height you want. Is it a full body shot? Do you just want to take a selfie? Make sure your tripod is at the same level as you or higher for the most flattering photos.
FACE YOUR SCREEN TOWARDS YOU
This may sound obvious, but I wanted to make sure to point this out just in case. I face my screen towards me so I can see what I actually look like and what is in the frame. I don’t want to find out in the end that I was too far to one side after 100 photos or my bag was never in the shot.
ENSURE YOUR REMOTE IS ON & OUT OF SIGHT (OPTIONAL)
My tripod didn’t come with a Bluetooth remote, but you can find affordable ones on Amazon – like this remote for $11. Make sure it is switched on and paired properly before deciding to shoot because no one wants to deal with technical difficulties when on location.
These remotes are quite small, but if you’re new to using one I suggest taking some test shots and zooming in to see if the remote is obvious in your hand or it doesn’t look natural.
IF YOU DON’T HAVE A REMOTE SET A TIMER
This is what I do! If your tripod doesn’t come with a remote you can set a timer on your iPhone to either 3 secs or 10 secs.
Play around with what works best for you. I suggest turning your phone off vibrate so you can hear the count down sound and when the phone clicks to take the photo. By setting up the timer your phone will take a burst of 10 shots each time.
PORTRAIT MODE VS PHOTO MODE
Most iPhones come with portrait mode in the camera settings – mimics DSLR cameras for that blurred background effect. I usually take photos in both settings to see which I prefer in the end.
Sometimes I find portrait mode can make objects look harsher than they appear in person and other times I love that it helps to create a focal point.
TRIAL AND ERROR
This takes some getting used to and isn’t as easy as telling your photographer to go a little to the left or right. It will take time to learn what works best for you. I try to take a handful of photos at a time and then see what they look like.
That way I can make adjustments with my tripod when I’m already set up on location. I recommend trying different angles and backgrounds so you have more photos to choose from in the end.
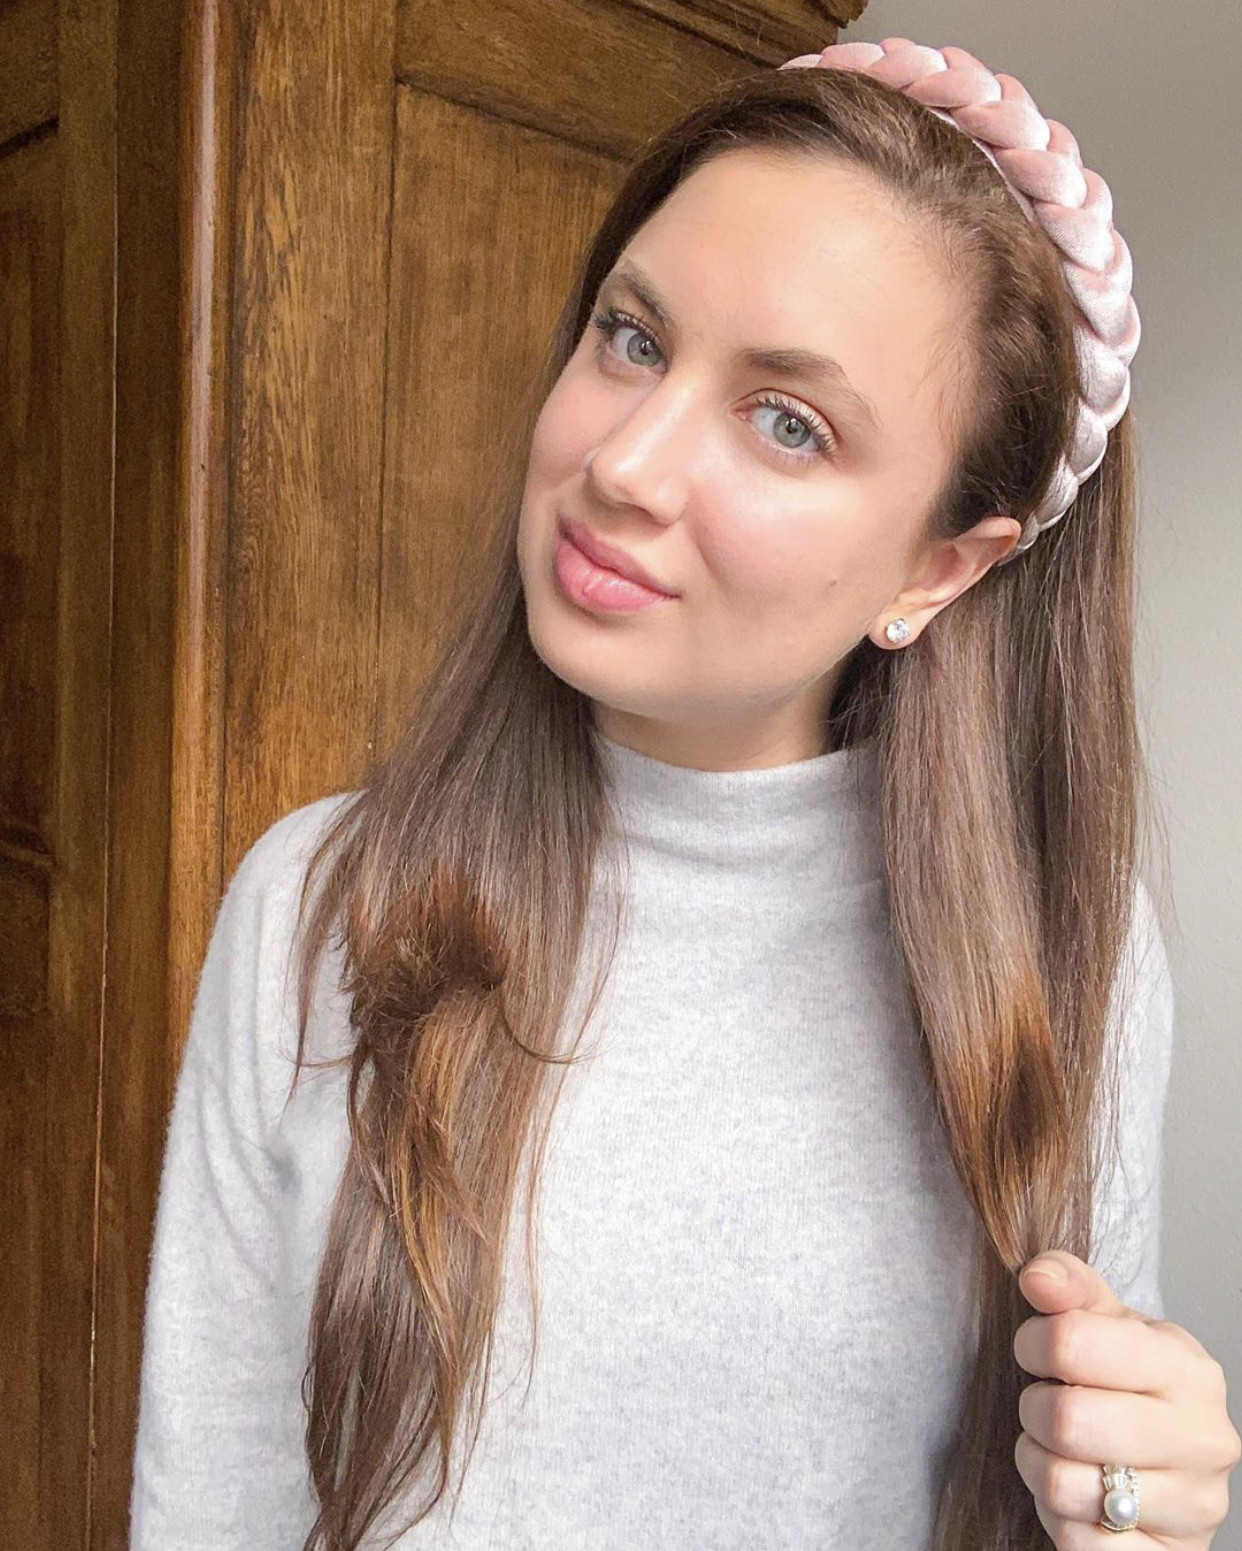
Taken with my tripod
GENERAL PHOTOGRAPHY TIPS
NATURAL LIGHT
If there isn’t good natural light then don’t take photos. There is only so much editing you can do to “save” a photo so natural light will be your best friend. Be sure you are facing the direction of the sun or face the direction the sun SHOULD be if it’s overcast.
Also, consider shooting during golden hour for dreamy and soft photos. This is usually an hour after sunset and an hour before sunrise.
RULE OF THIRDS
This is a basic photography concept that says photos look more appealing when a subject occupies a third or two-thirds of the photo. When using your phone you can adjust the settings to see a grid when you shoot to help visualize this.
This means your subject should always be off to the side or in the top or bottom third or two-thirds of the photo, as opposed to directly in the center. I don’t always follow this, but it’s something to play around with.
BACKGROUND
Always be conscious of your background as a bad backdrop can ruin a perfectly good photo. Here are a few tips I try to think of when choosing a background for my outfit:
Busy background – simple outfit
Dark background – light outfit or pop of color
Light background – dark outfit or pop of color
Also, remember that juxtaposition can be fun and make a photo more interesting. If you’re wearing a feminine floral dress you don’t have to photograph yourself in a field of flowers (although that would be beautiful) you can try a modern city shot as a backdrop. You get the picture.
I hope you found this post helpful about how to take Instagram photos with a tripod. If you want to know more about how I edit my Instagram photos, check out this previous blog post! If you have any other suggestions for blog posts feel free to leave them in the comment section below!

I just started using a tripod this year for full-body outfit pictures. There is definitely a learning curve involved, so I find this post very helpful. I have an iPhone 6 (living in the stone ages LOL!) but I always shoot with the back camera. The front camera is not as powerful as the back, and there is a distinct quality difference. That might be different on your model, but wanted to throw that out there for us with ‘old’ phones haha! It’s a matter of taking test photos first so I can get the frame right, considering I can’t see the screen.
xoxo Amanda | theaestheticedge.com
Author
Thanks for pointing that out! There is definitely a difference with “older” models. When I had an iPhone 8 Plus I could tell a difference between the front and back cameras, but not now with the model I currently have. Thanks for taking the time to read and comment 🙂
Great tips. I do some photography as a hobby but taking photos of myself is a lot harder than I thought, lol! The tri pod makes a big difference. I have one for my DSL but I don’t have the iphone adapter. I’ll have to try it!
Author
I’ve been meaning to get one for my DSLR too. It’s so helpful 🙂