
I don’t know about you, but I truly feel my best when I have a great manicure all year round. I feel put together, attractive, and like a great representation of myself. Ok…so that might be a lot to ask of a manicure, but if you know me in real life, I ALWAYS have my nails done.
Over the years, I have learned how to get that perfect at-home manicure and I’m finally sharing it today. I’ve gotten to the point where nail technicians will think I’m wearing gel and got it done at another salon, which is quite a compliment.
My two biggest pieces of advice:
- Practice makes perfect and patience is key.
- Put on your favorite show or movie because if you want your manicure to look perfect it’s best not to rush the process. It also makes it more of an enjoyable experience rather than feeling like a chore.
If you’re not able to go to the nail salon or just want to save some money, keep reading to learn how you can get a perfect at-home manicure.
Prep Your Nails for an At-Home Manicure
Remove polish
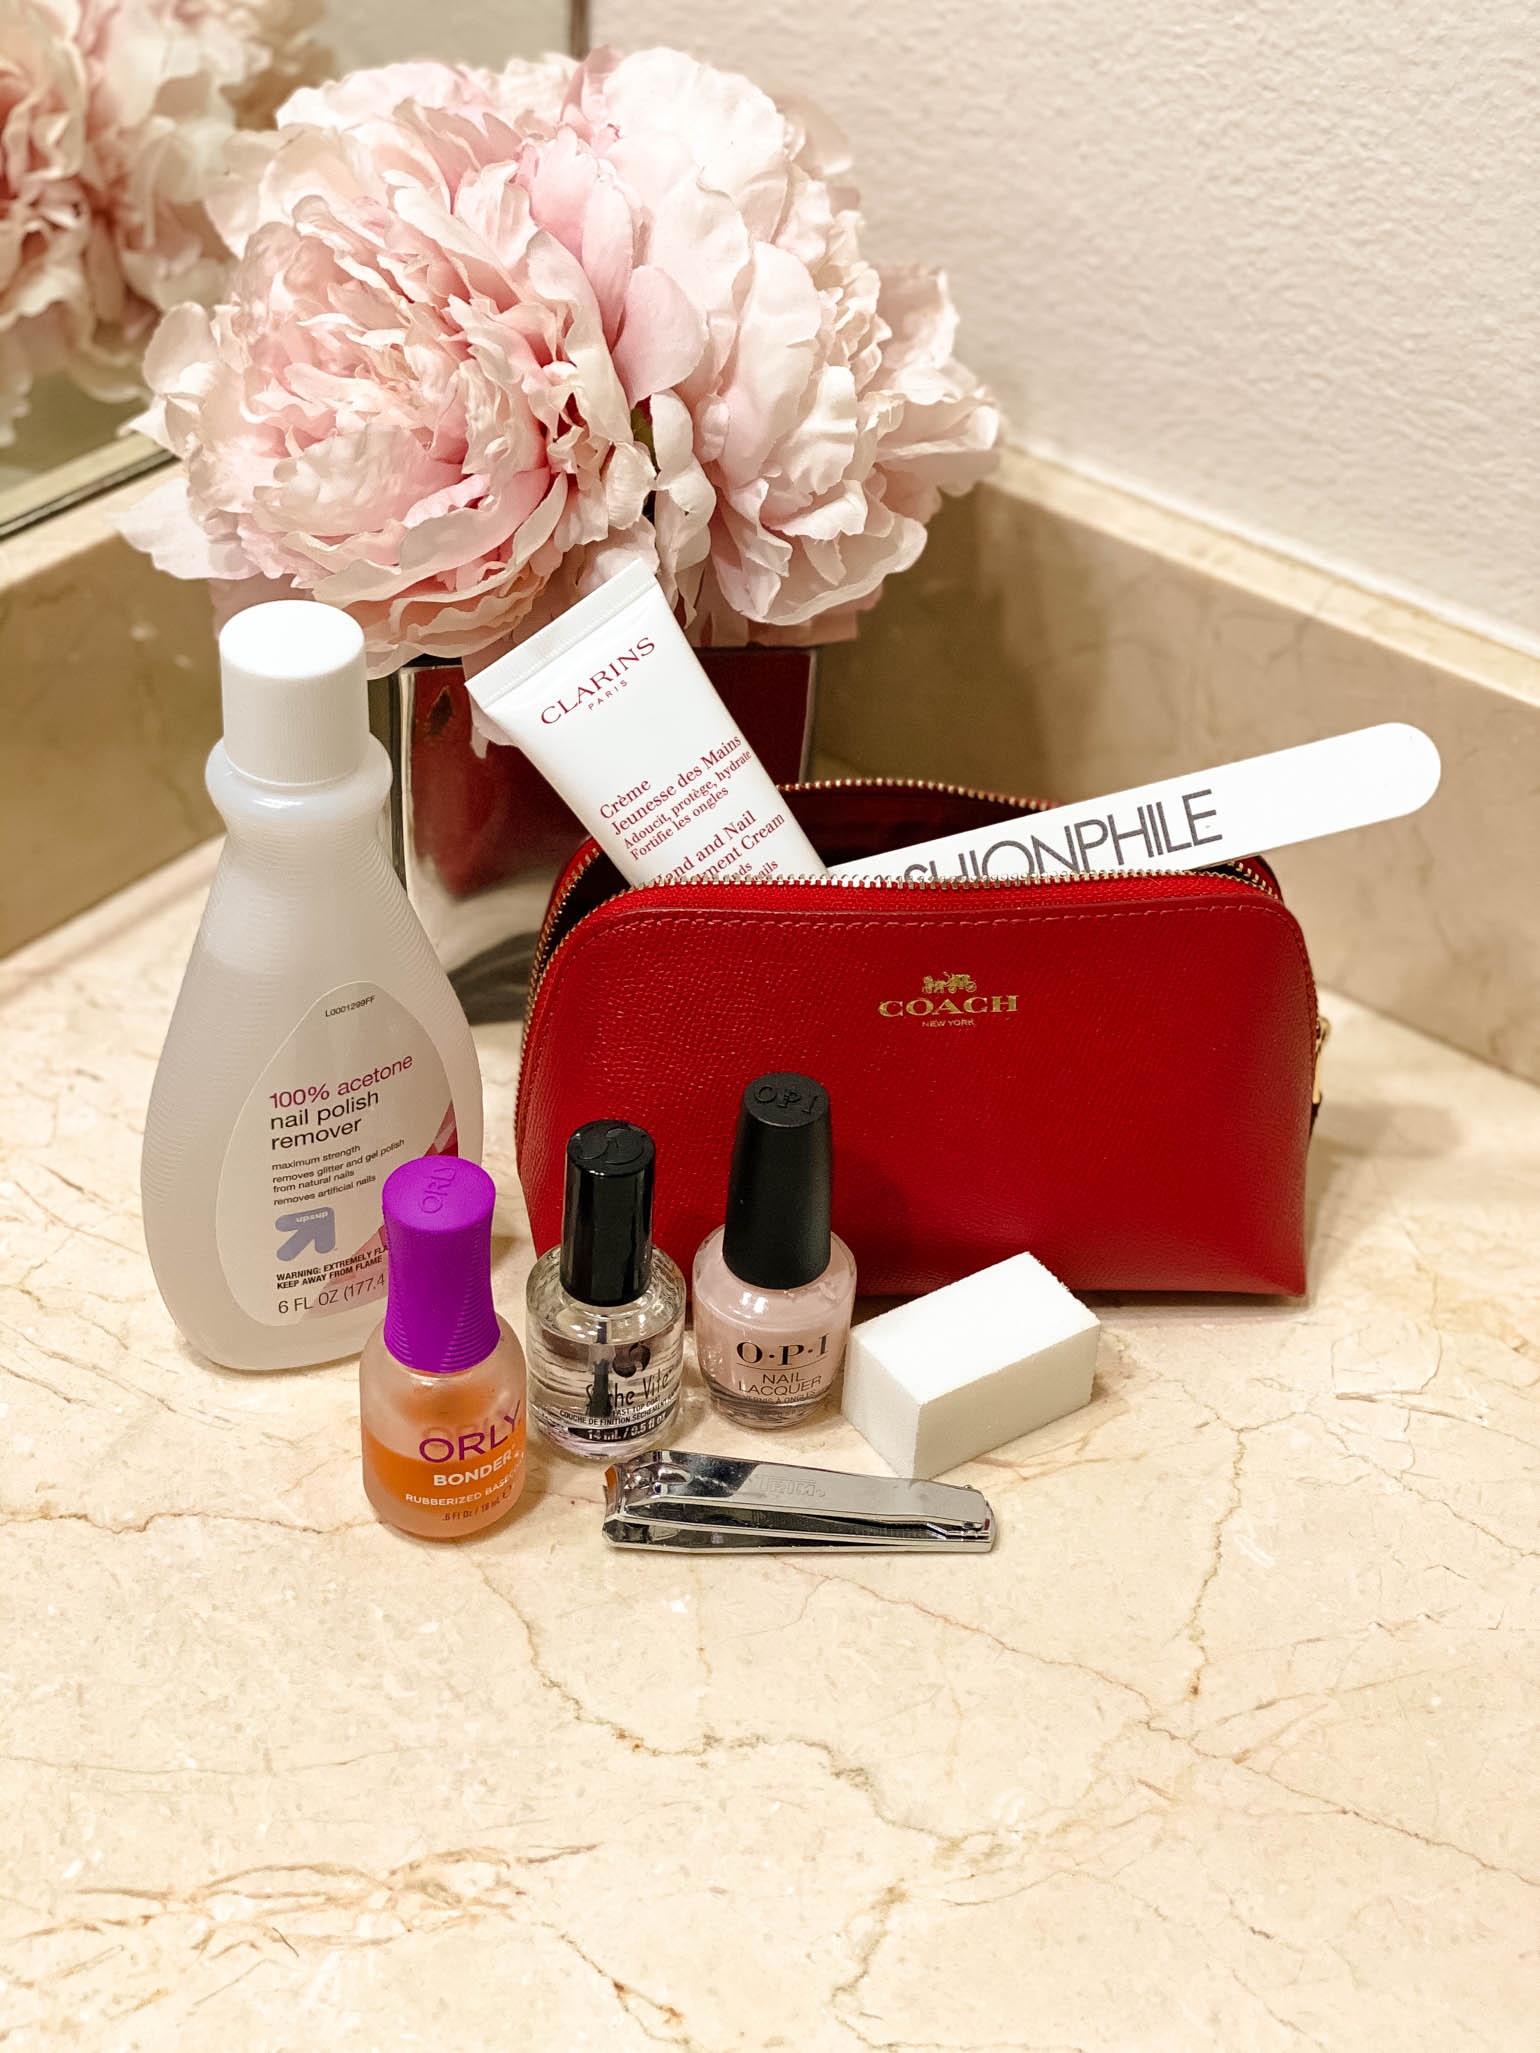
Always start by removing your previous polish with nail polish remover. I don’t have a preference for any brand, but like using acetone as it helps remove polish quicker and is a must for removing gel polish.
Even if you don’t have any polish on, it’s best to run a cotton pad soaked with polish remover over each nail to remove oil or dirt that could affect your polish later.
Trim
You only need to trim your nails if they are too long or are different lengths. Uniformity is best when it comes to a perfect looking at-home manicure. If you don’t need to trim your nails much you can go straight to shaping and buffing.
Shape + Buff
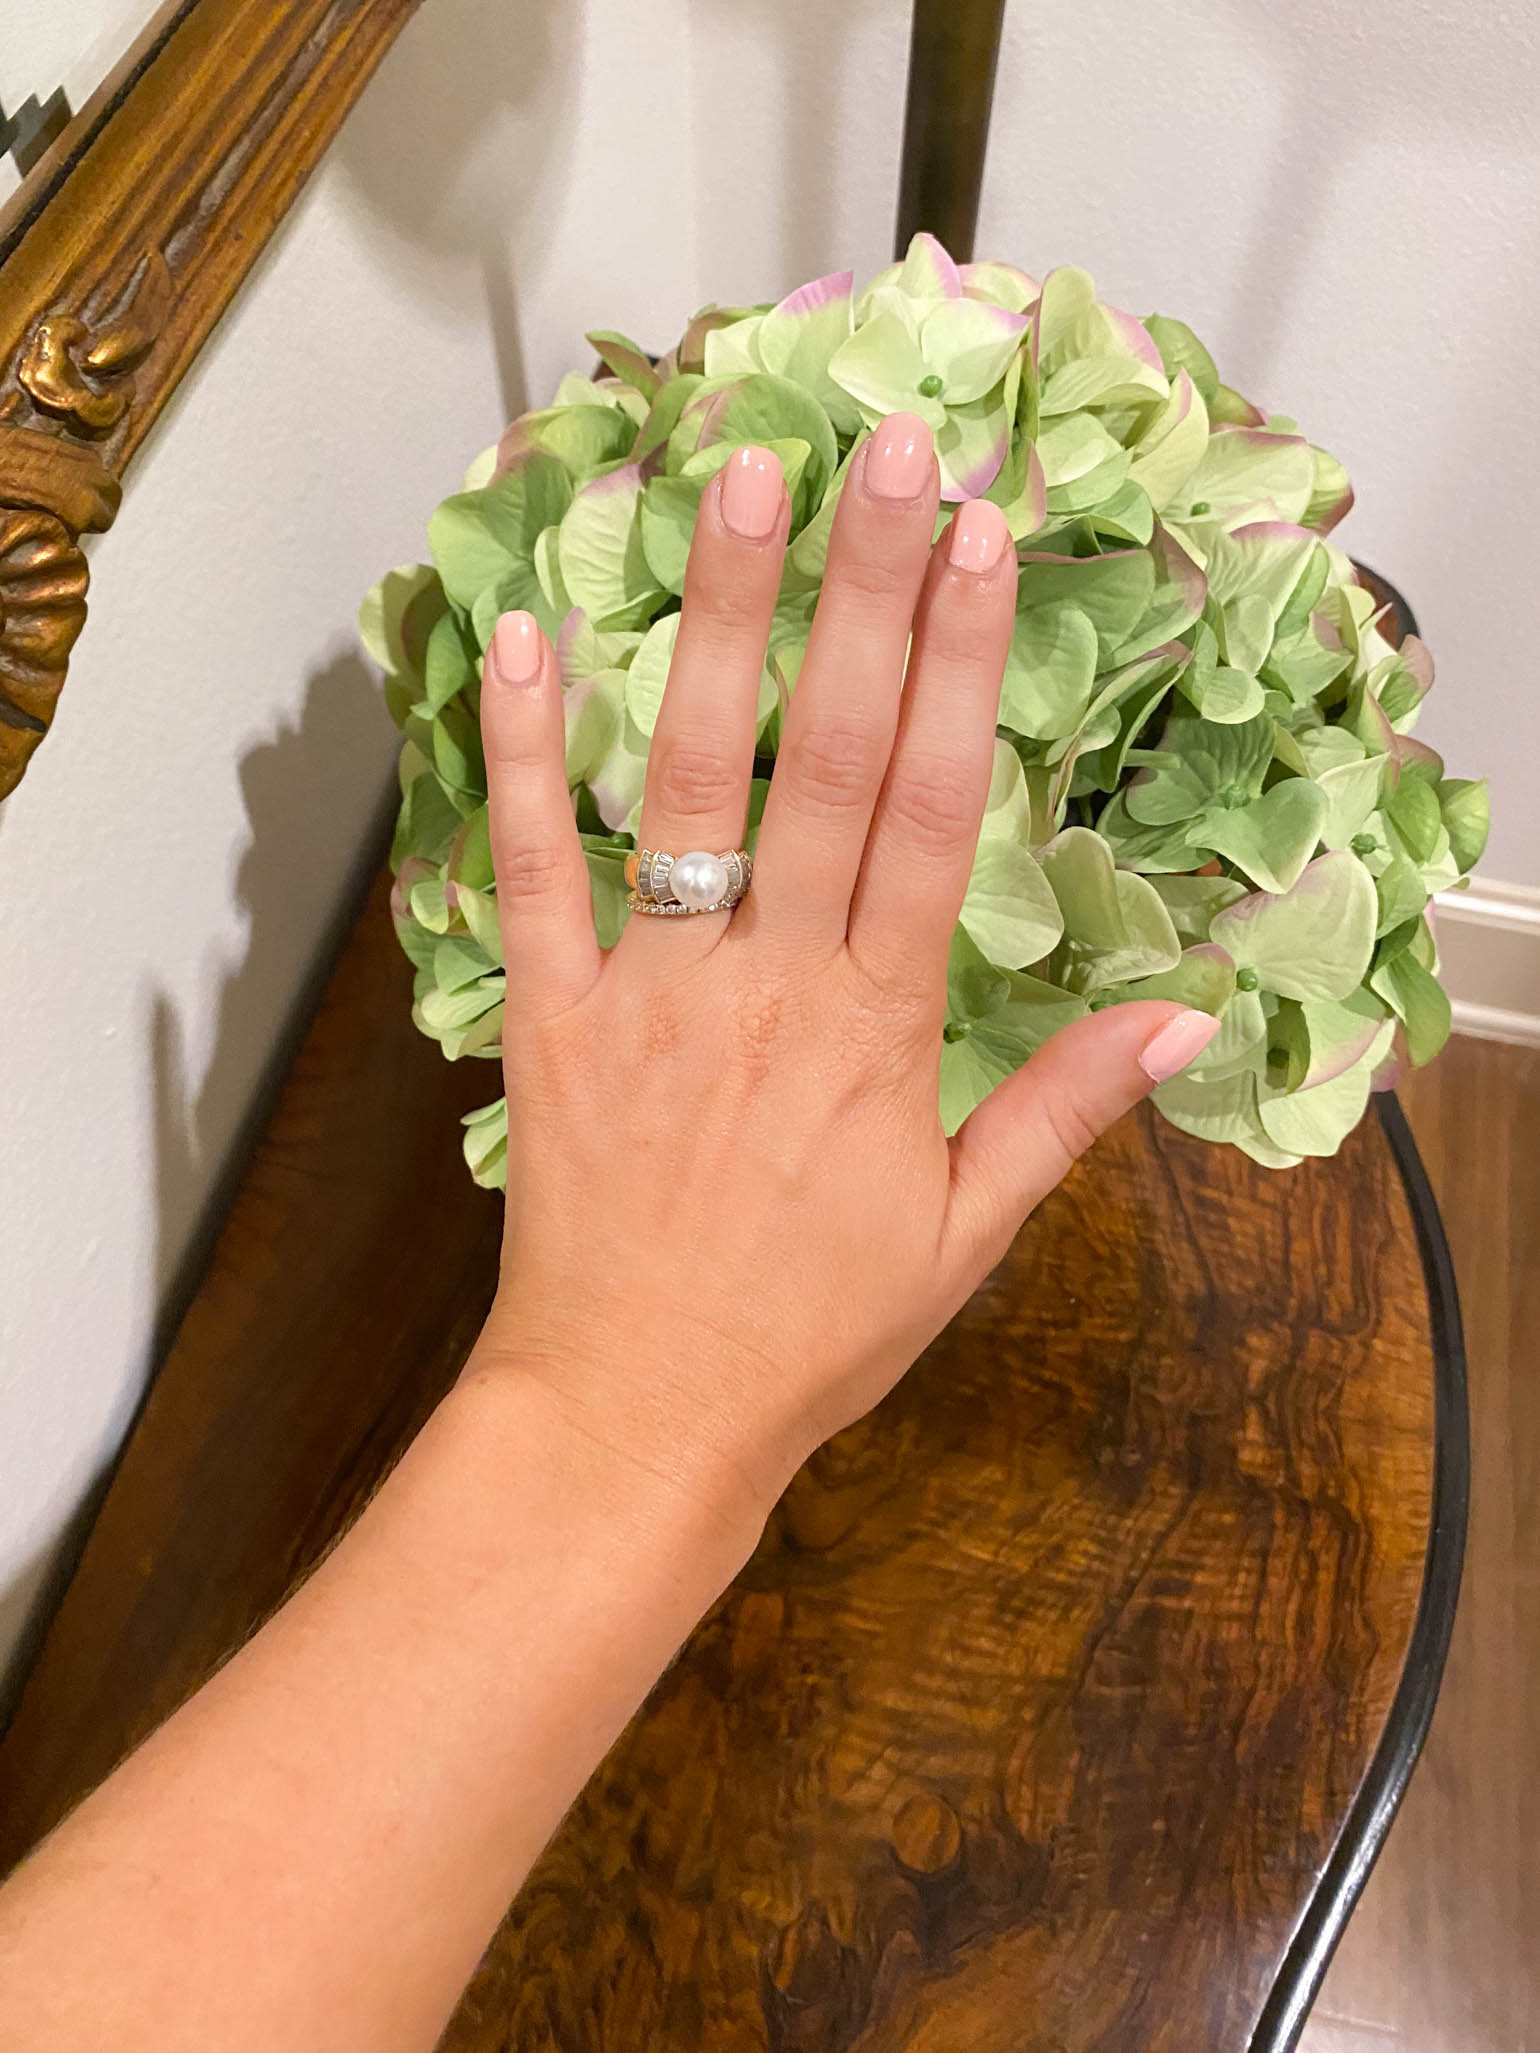
There are so many nail shapes, but I prefer square with rounded edges.
Hold your nails up to the light to see if the shape looks uniform and run your finger over the edges for any roughness. It’s best to fix it now rather than when you have polish on.
When filing your nails make sure you go in one direction rather than back and forth as it could weaken your nails.
Also: Keep in mind that a nail buffer is different from an emery board or nail file.
I get mine from my salon, but you can find nail buffers for cheap. A nail buffer just helps to smooth out the nail while an emery board shapes your nail.
Try not to skimp out on buffing your nail before applying polish. Why does it matter? If you don’t buff, the natural oils in your nails can build up, leaving residue that could ruin your manicure.
Cuticles
I generally leave this for the salon because I don’t have the proper tools, and I’m not comfortable doing this step myself. However, if you’re up for it start by soaking your nails in warm water (not hot) to soften the cuticles.
You can use a cuticle remover to help – gels or oils are best not a balm. Find a nail kit that includes cuticle tools so you can push them back or cut if needed.
Moisturize
This may sound weird, but be sure to moisturize BEFORE you put on your nail polish. You don’t want to mess up almost dry nails later. Go back over each nail with nail polish remover to ensure you have a clean surface for your polish. This is the hand moisturizer I’m using.
TIME TO ACTUALLY PAINT YOUR NAILS
Apply a Base Coat
I’ve been using the same base coat for nearly 10 years, and swear by it. I use the Orly Bonder base coat as it’s a rubberized base coat that keeps your polish on for longer, and if I’m putting in all of this work I want my manicure to last.
Apply Polish
It’s best to apply 2-3 thin coats for a perfect at-home manicure. If you watch nail technicians you’ll notice they usually stripe the nail in three sections: once down the middle and once on each side.
I prefer to think of the first coat as maximum coverage and any additional coats to perfect the polish. Wait at least 2 mins between each coat so you don’t mess up your work.
My favorite nude/light pink polishes are: OPI Bubble Bath, OPI Sweet Heart, OPI Mod About You
Finish With a Top Coat
I swear by this top coat and exclusively use the Seche Vite Top Coat because it creates a strong protective layer and gives the prettiest salon-like finish.
When applying your top coat, be sure to go over the edge of your nail too just slightly to seal in the color.
Clean Up
You’re done and now have a perfect at-home manicure!
If you went over the edge of your nail or notice the lines don’t look as sharp as you’d like, wait till the nail is completely dry before fixing. To fix any areas, soak a Q-tip in nail polish remover and go over lightly.
Tools You’ll Need:
Are you giving yourself an at-home manicure while under quarantine or going au naturel? What other tips do you have? Feel free to share in the comment section below! Click here if you’re interested in more of my beauty tips or beauty favorites.

I have a post similar to this one that makes a great companion! Just search up ‘nail care routine’ on the blog. I’ve been testing Orly’s Bonder for 5 weeks now and I really like it! All my fave top coats and base coats get discontinued for some reason. If I’m going to be doing a lot of filing, I like to put on some YouTube for sure.
xoxo Amanda | theaestheticedge.com